
In the field of data analysis and business intelligence, the ability to present data understandably and succinctly is crucial. The Power BI Report Builder is a powerful tool in this situation.
One effective tool in Microsoft’s business intelligence toolkit is Power BI Report Builder. It is used to build paginated reports, which are publishable on Power BI Service.
Paginated reports are designed to fit on a printed page, in contrast to interactive standard Power BI reports. This makes them perfect for producing fixed-layout reports, such as invoices and financial reports.
This blog is designed to take you step by step through the process of using Power BI Report Builder to create your first paginated report.
We will begin with environment setup and work our way up to connecting to data sources, creating datasets, designing the report, and running and displaying the report.
Sections
- Introduction
- Install Microsoft Power BI Report Builder
- Connect to a Data Source from Your Workspace
- Creating a Dataset and Parameters
- Design the Report Layout with Key Features
- View the Report (Publish to Power BI Service for Sharing)
- Embrace Your Power BI Report Builder Journey
Install Microsoft Power BI Report Builder
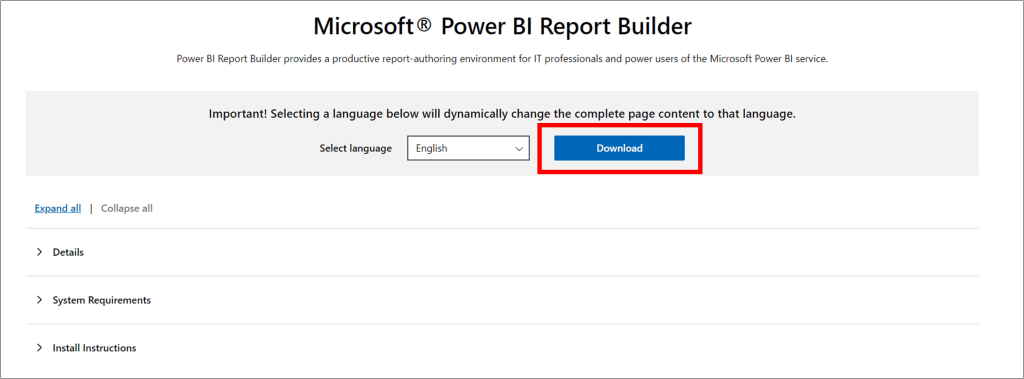
To get started, you will need to download and install Microsoft Power BI Report Builder using this link.
The page highlights the tool details, system requirements and Install Instructions. On the page, click on the download button to download Power BI Report Builder to your computer and install.
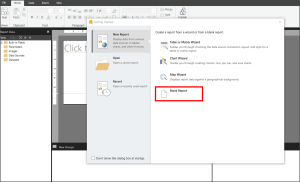
After successfully installing and launching, you will be welcomed with a dialogue page to chose how to get started. Chose to get started with a Blank Report.
Connect to a Data Source from Your Workspace
The next step is to connect to a datasource. You can connect to muitple datasources as show in the image below.

However, for this blog, we will focus on connecting to a Power BI Dataset.
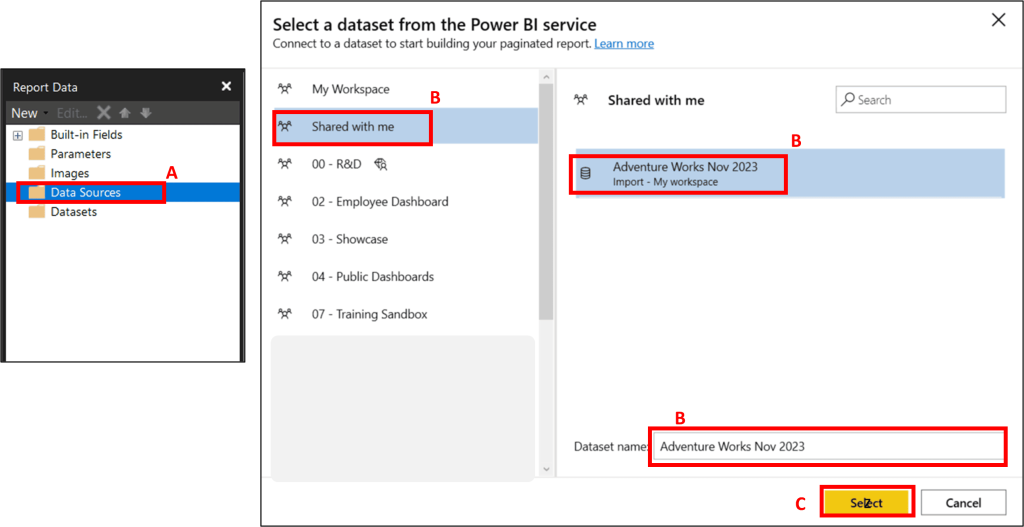
a) In the report data pane right click on the Data Sources and select “Add Power BI Dataset Connection”.
b) A dialogue box will open requesting for you to select a dataset from a workspace in the Power BI Service.
c) Choose the workspace where your dataset is housed, choose the appropriate dataset and click on select. The dataset will be connected to the report builder.
Creating a Dataset and Parameters
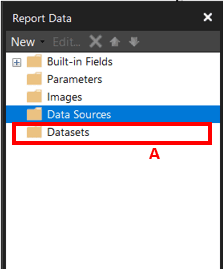
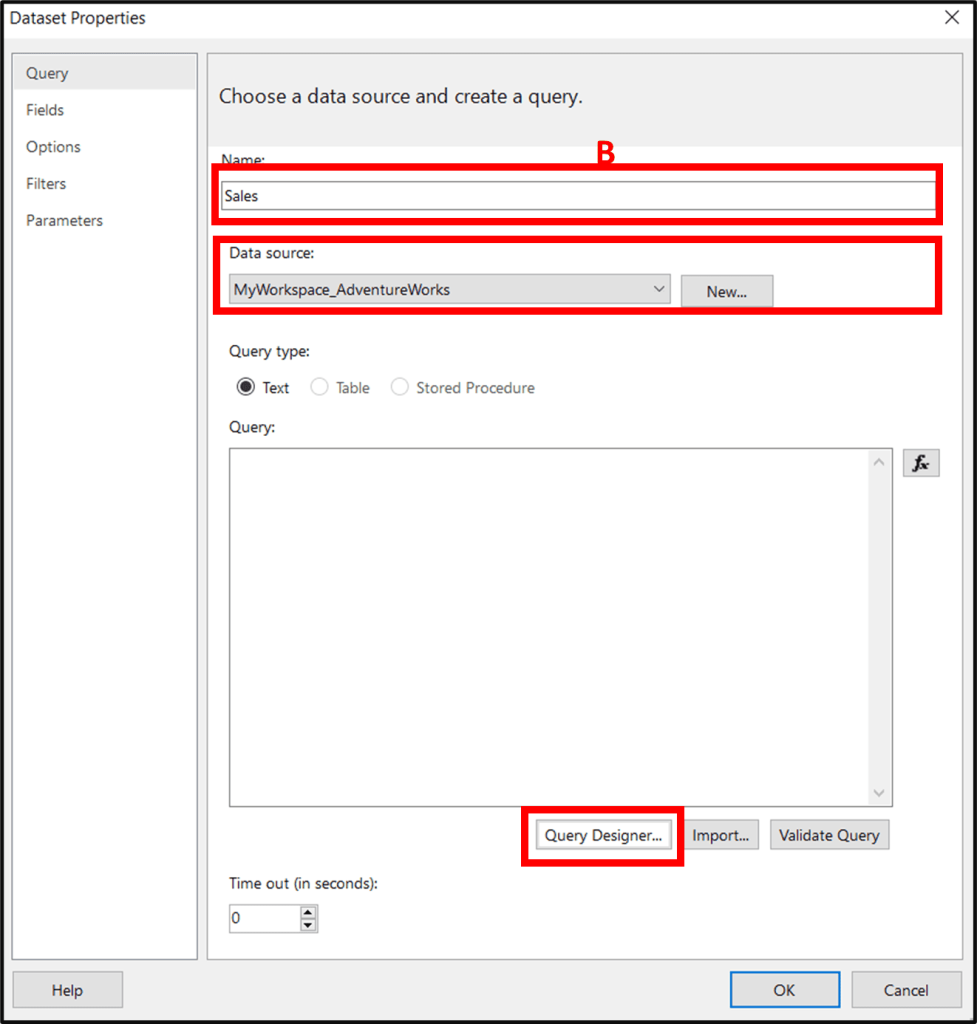
a) After the Data Source connection, right-click on the “Datasets” icon in the Report Data pane and click on “Add Dataset”. The Dataset Properties dialog box will open up.
b) Give a name to the dataset, choose the appropriate Data source and the “Query type” Text. Click on the Query Designer and the Query Designer Dialogue box will open up.
Before we continue the next couple of steps. It is important to understand what the “query designer” is.
The query designer is a visual interface, which allows users to create and modify queries used to retrieve data for their reports. One can drag and drop fields, apply filters and define parameters in the interface without writing complex codes.
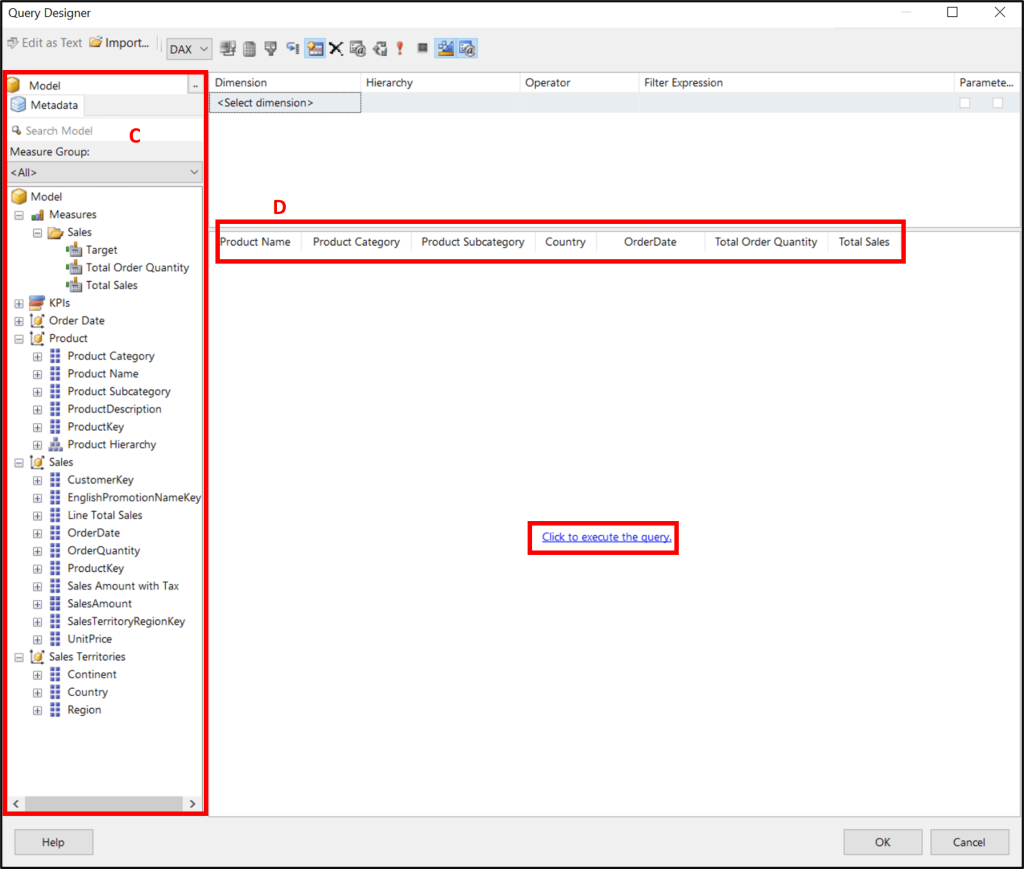
c) In the query designer, you will see the meta data of the connected dataset model, which consists of all the data in the model as well as the measures and KPIs if any.
d) Select the fields you want to see in the report and drag it into data section and click on the “click to execute the query to have a sneak peak of how the data looks like.
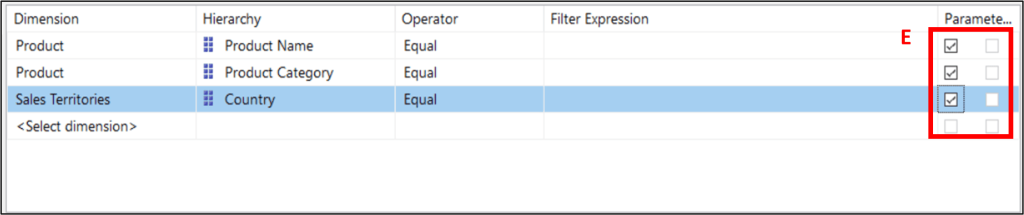
e) In the top section, drag in the field you want to use as a filter expression or parameters. For each field, choose the ones you want to use as a parameter and tick the parameter box at the far right. Click ok.
In case you are wondering what a parameter is. It is a dynamic input, that allows users to control data or the behaviour of a report at the time of execution. Parameters allow users to customize how the report is viewed without altering the underlying report design.
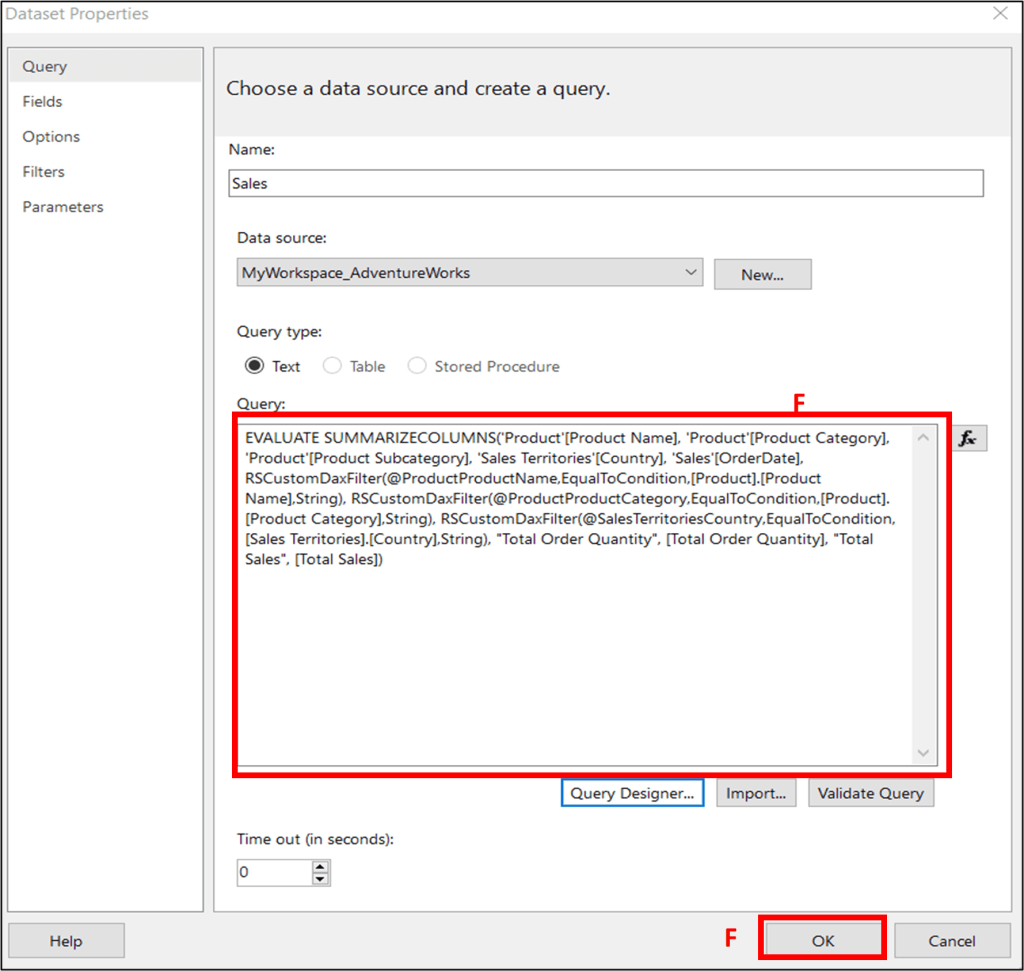
f) The query box in the dataset properties dialog box will be populated with the query generated from the query designer setup. Click ok to apply the new settings and close the dialog box.
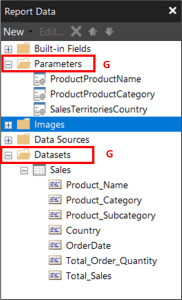
g) The field will be populated under the dataset, and the newly created parameters will appear under the parameters folders. At this point, you are ready to start designing your report.
Design the Report Layout with Key Features
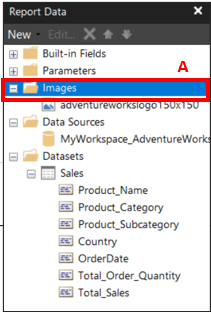
a) In the report data pane. Right-click the image folder and import any image or logo you might need to design your report.
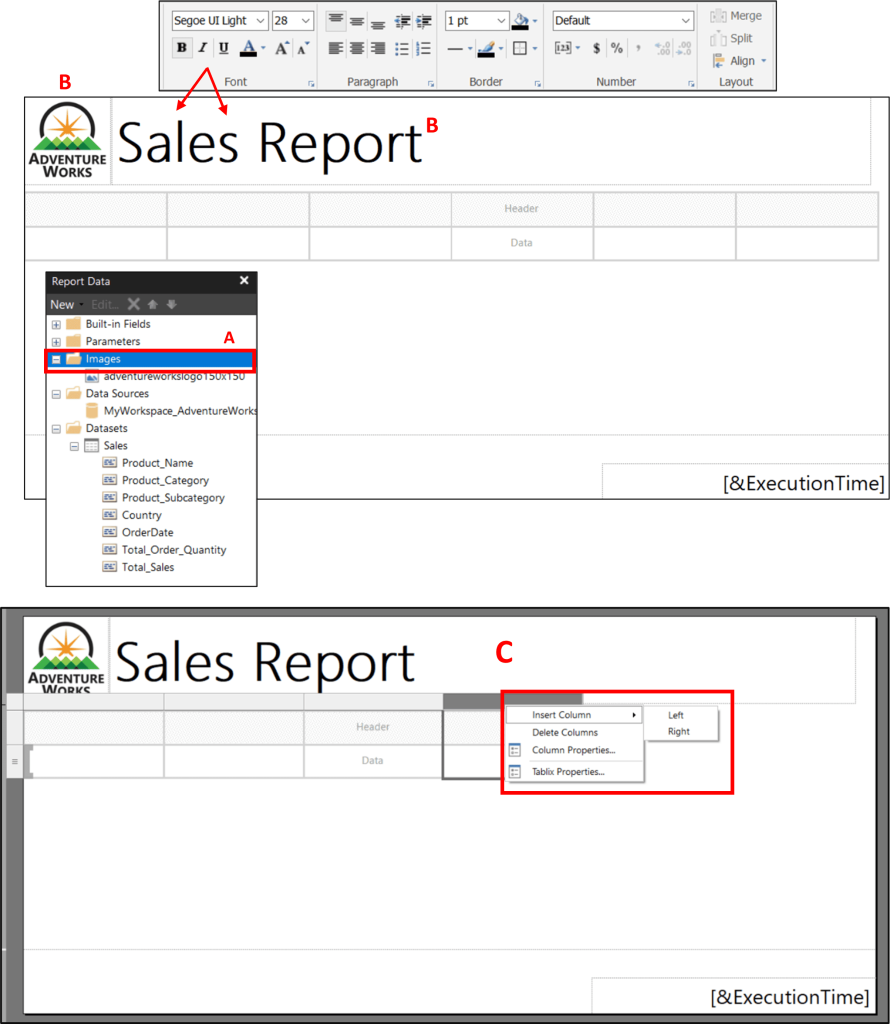
b) Drag the logo into the report empty space and the logo will be added to the report – you can then resize and move the logo to the position you want. Give the report a title and modify it as you please, changing the font, color etc.
c) Right-click on the empty report page, click on insert and choose a table – two columns and two rows tables will be added. You can add more columns by right clicking on the top of any column to insert more left or right. The same goes for the rows to insert top or bottom.
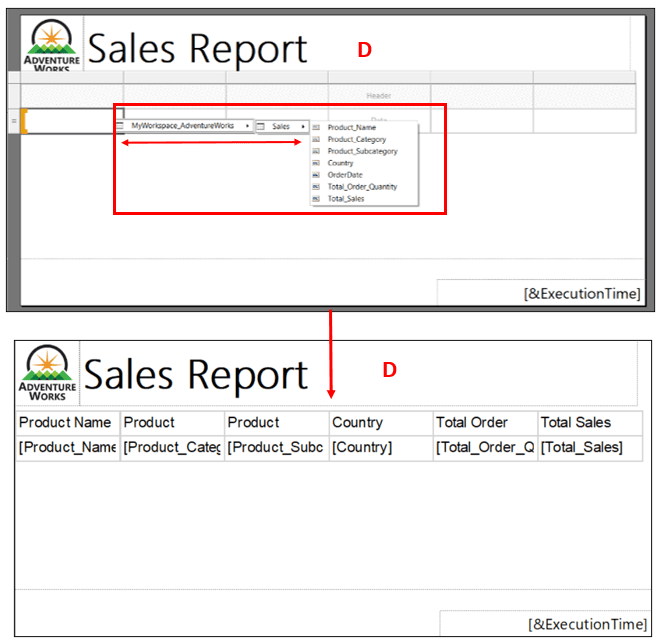
d) To add a field in the appropriate cell, click on the cell, and an icon will appear at the top right corner. Click on it and select the data source, dataset and field you want displayed. After the first field addition, you can subsequently add other required fields, and each will be inserted.
View the Report (Publish to Power BI Service for Sharing)
Once the report has been set up the way you like it:
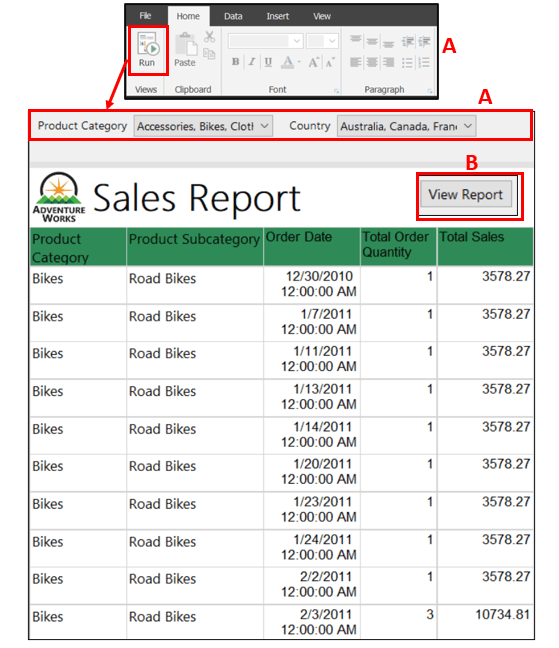
a) Go to the home tab and click on run, on the next page from the parameters select the data you want to see, or you can select all if you want to see all.
b) Then click on view report at the far-right-hand corner and the table loads with the results.
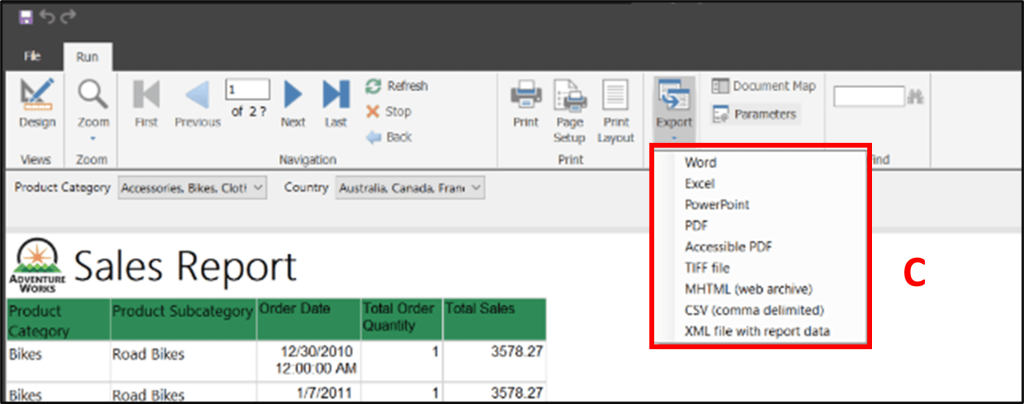
c) When satisfied with the result, you can export the report in multiple formats or publish it to Power BI Service, for others to have access to it.
What Is the Power BI Report Builder?
Power BI Report Builder is a specialized tool from Microsoft. It is designed for creating structured, paginated reports. It stands apart from Power BI Desktop, which is better suited for interactive reports.
Power BI Report Builder shines when it comes to preparing reports for print or PDF output. These are often called “paginated” because they’re formatted to fit neatly on individual pages.
This tool empowers you to do more than just compile data. It enables you to turn data into a narrative that’s insightful and easily understood. With Power BI Report Builder, users can efficiently arrange data into tables and charts.
These visualizations help tell the data’s story, making them essential for data-driven decision-making.
The charts that you create with Power BI Report Builder are not only eye-catching but also straightforward. They communicate complex data points with simplicity. Reports can span multiple pages, each meticulously organized.
This logical layout ensures that every page guides the reader clearly through the data.
In short, Power BI Report Builder equips you with the ability to design and customize detailed reports. Once crafted, these reports can be published and shared within your organization. This sharing fosters an environment where decisions are made based on solid data insights.
Embrace Your Power BI Report Builder Journey
As we wrap up this beginner’s guide to Power BI Report Builder, you’ve now embarked on your journey into creating paginated reports.
From setting up your environment to viewing your finished report, each step has brought you closer to mastering this tool. The skills you have gained are just the beginning and there is much more to explore and learn.
Remember, practice is key. Continue to experiment with different features. Your journey in data reporting is not just about creating reports, but also about the insights and stories you bring to life through your data.
